Welcome, fellow foodies! Today, we’re taking a deep dive into the world of roasted kumara, exploring two versatile and convenient cooking methods – air fryers and toaster ovens.
Cooking roasted kumara in an air fryer or toaster oven is a breeze. Simply prepare and season the kumara, set the appropriate temperature and cooking time for your chosen appliance, and sit back as your delicious and nutritious side dish comes to life.
In this article, we’ll not only guide you through the step-by-step process of roasting kumara using an air fryer and toaster oven, but also share enticing seasoning ideas, highlight the nutritional benefits of kumara, and answer frequently asked questions to provide a comprehensive, engaging, and helpful resource for all your kumara-roasting needs. So let’s get started on this mouth-watering adventure!
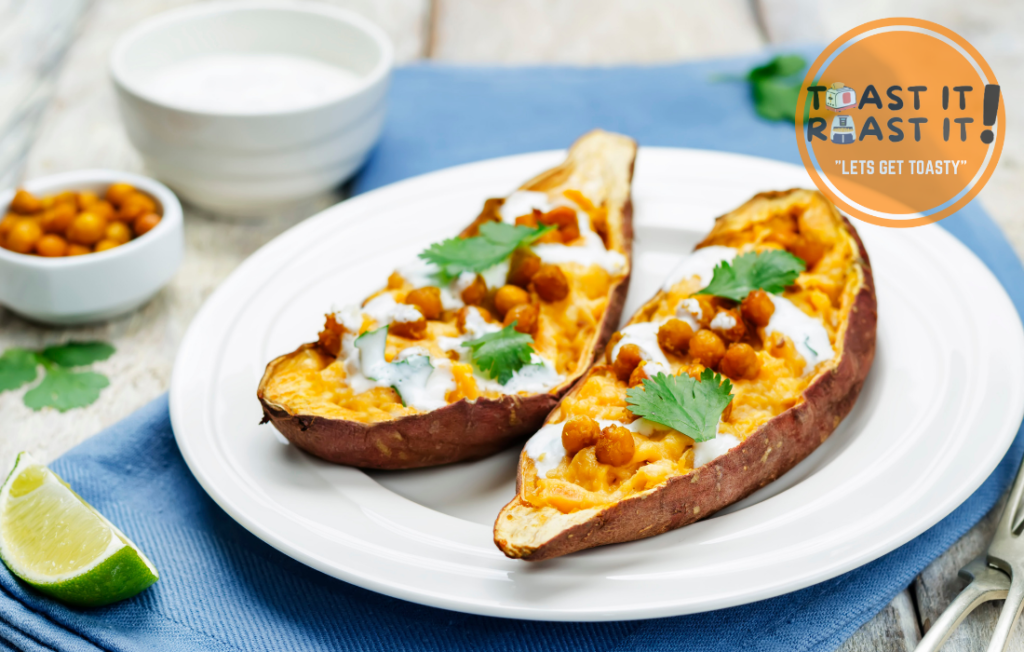
Air Fryer Roasted Kumara
Advantages of using an air fryer
Air fryers are all the rage these days, and for good reason. They cook food quickly, using hot air circulation that creates a crispy texture similar to deep frying but with far less oil. This method makes for healthier dishes without sacrificing flavor. Additionally, air fryers are user-friendly and require less supervision than traditional stovetop or oven cooking.
Step-by-step air fryer kumara roasting instructions:
- Preheat your air fryer to 400°F (200°C).
- Wash and peel the kumara, then cut them into evenly sized wedges or chunks.
- In a large bowl, toss the kumara pieces with a light coating of oil and your choice of seasonings.
- Place the seasoned kumara pieces in a single layer in the air fryer basket, making sure not to overcrowd them.
- Cook the kumara for 15-20 minutes, shaking the basket halfway through to ensure even cooking.
Cooking time and temperature:
For perfectly roasted kumara, set your air fryer to 400°F (200°C) and cook for 15-20 minutes. The cooking time may vary slightly depending on the size of your kumara pieces and your specific air fryer model. Be sure to check the kumara for doneness around the 15-minute mark and adjust the cooking time accordingly.
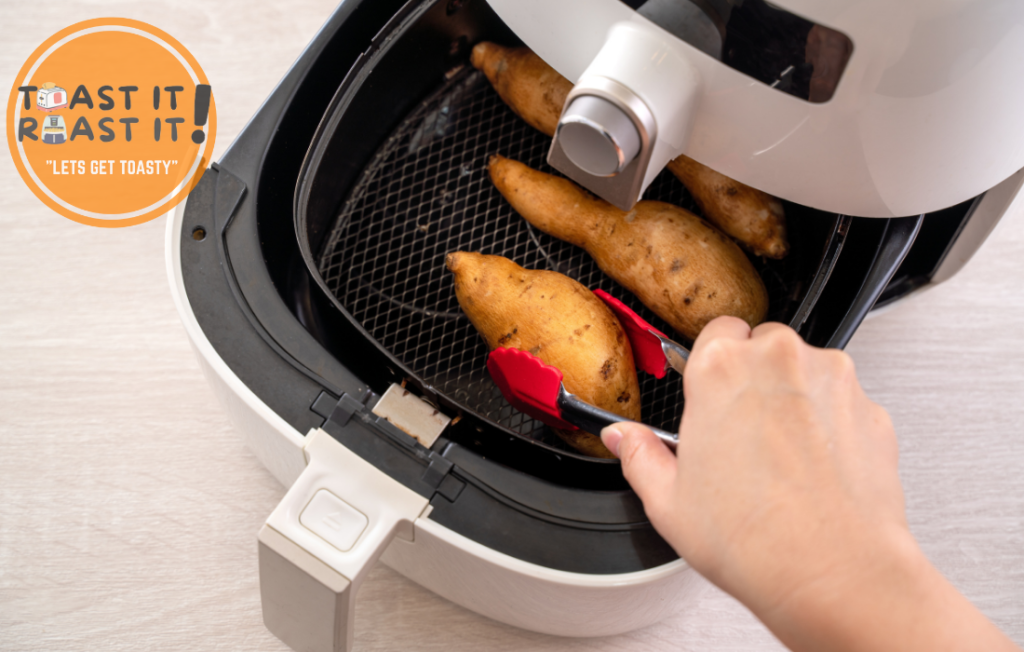
Toaster Oven Roasted Kumara
Advantages of using a toaster oven:
Toaster ovens offer several advantages when it comes to cooking kumara. They heat up quickly, consume less energy than conventional ovens, and are perfect for small-batch cooking. Toaster ovens are also versatile, allowing you to roast, bake, and broil various foods, making them a convenient addition to any kitchen.
Step-by-step toaster oven kumara roasting instructions:
- Preheat your toaster oven to 425°F (220°C).
- Wash and peel the kumara, then cut them into evenly sized wedges or chunks.
- In a large bowl, toss the kumara pieces with a light coating of oil and your choice of seasonings.
- Arrange the seasoned kumara pieces in a single layer on a baking sheet lined with parchment paper or aluminum foil.
- Cook the kumara for 25-30 minutes, turning them halfway through to ensure even cooking and browning.
Cooking time and temperature: For deliciously roasted kumara in a toaster oven, set the temperature to 425°F (220°C) and cook for 25-30 minutes. The cooking time may vary slightly depending on the size of your kumara pieces and your specific toaster oven model. Be sure to check the kumara for doneness around the 25-minute mark and adjust the cooking time accordingly.
Seasoning Ideas for Roasted Kumara
Creative seasoning combinations:
- Classic Combo: Olive oil, salt, black pepper, and a touch of paprika for a hint of smokiness.
- Sweet and Spicy: A blend of brown sugar, cayenne pepper, and cinnamon for a tantalizing mix of flavors.
- Garlic and Herb: Minced garlic, rosemary, thyme, and a sprinkle of salt for an aromatic and savory twist.
- Citrus Zing: Olive oil, lemon zest, and a pinch of salt to bring out the natural sweetness of kumara.
- Asian-Inspired: A mix of soy sauce, honey, ginger, and sesame seeds for an umami-packed flavor profile.
- Caribbean Fusion: Combine jerk seasoning, lime juice, and a drizzle of honey for a sweet, spicy, and tangy taste.
Serving suggestions for different seasonings:
- Classic Combo: Serve alongside grilled or roasted meats and a side salad for a well-rounded meal.
- Sweet and Spicy: Pair with a cooling yogurt dip or sour cream to balance the heat.
- Garlic and Herb: Complement with roasted or steamed veggies and grilled chicken or fish.
- Citrus Zing: Serve with grilled seafood or a zesty quinoa salad.
- Asian-Inspired: Pair with steamed rice and stir-fried vegetables for a complete meal.
- Caribbean Fusion: Serve with coconut rice and peas, and your choice of grilled or roasted protein, like chicken, pork, or fish, for a tropical feast.
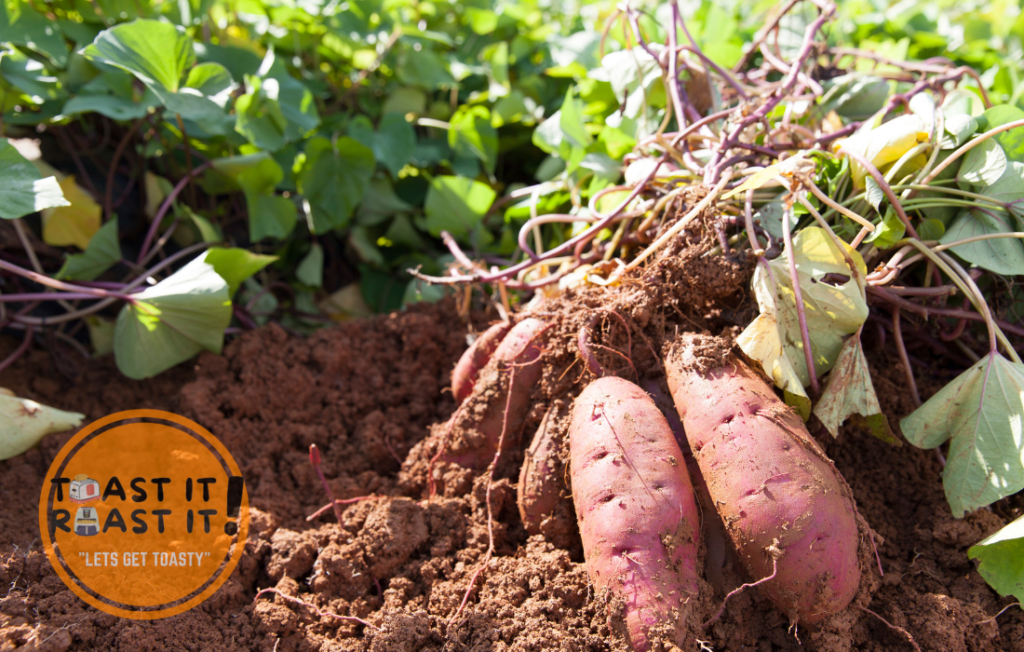
Nutritional Information and Health Benefits
Comparing kumara to sweet potatoes: Kumara, also known as New Zealand sweet potato, is often compared to its close cousin, the sweet potato. Both are nutrient-dense root vegetables with similar taste profiles and textures. However, kumara typically has a slightly sweeter taste and a firmer texture when cooked. In terms of nutritional content, kumara and sweet potatoes are quite similar, with only minor differences in their vitamin and mineral compositions.
Nutritional breakdown of kumara:
A medium-sized kumara (approximately 150 grams) contains the following nutrients:
- Calories: 120 kcal
- Carbohydrates: 28 g
- Dietary Fiber: 4 g
- Protein: 2 g
- Fat: 0 g
- Vitamin A: 241% of the Recommended Daily Intake (RDI)
- Vitamin C: 37% of the RDI
- Manganese: 29% of the RDI
- Potassium: 27% of the RDI
- Vitamin B6: 15% of the RDI
Health benefits of including kumara in your diet:
- Rich in antioxidants: Kumara is an excellent source of antioxidants, particularly beta-carotene, which supports eye health and may reduce the risk of certain types of cancer.
- High in fiber: The dietary fiber in kumara promotes healthy digestion and helps regulate blood sugar levels.
- Boosts immune function: The high vitamin C content in kumara supports a healthy immune system and aids in collagen production for healthy skin, hair, and nails.
- Good for heart health: Kumara’s potassium content may help lower blood pressure and reduce the risk of heart disease.
- Supports brain health: Vitamin B6 found in kumara plays a crucial role in brain development and function and may help improve mood and reduce symptoms of depression.
FAQs
How to cook kumara using other methods?
Apart from roasting, you can cook kumara in various ways, including boiling, baking, steaming, microwaving, and even grilling. Each cooking method brings out different textures and flavors, making kumara a versatile ingredient for many dishes.
Are there kid-friendly kumara recipes?
Absolutely! Kumara is a delicious and nutritious option for kids. Some kid-friendly kumara recipes include:
- Kumara mash: Boil kumara until soft, then mash with butter, milk, and a pinch of salt for a tasty side dish.
- Kumara fries: Cut kumara into thin strips, toss with oil and seasonings, and bake until crispy.
- Kumara and apple puree: Steam kumara and apples together, then blend them into a smooth puree for an easy and healthy baby food option.
What are some popular kumara dessert recipes?
Kumara’s natural sweetness makes it an excellent ingredient for desserts. Some popular kumara dessert recipes include:
- Kumara pie: Similar to a sweet potato pie, kumara pie features a spiced kumara filling in a flaky pastry crust.
- Kumara and coconut cake: A moist and flavorful cake made with grated kumara, shredded coconut, and warm spices.
- Kumara bread pudding: A comforting dessert that combines cubed kumara with a sweet custard and is baked until golden and delicious.
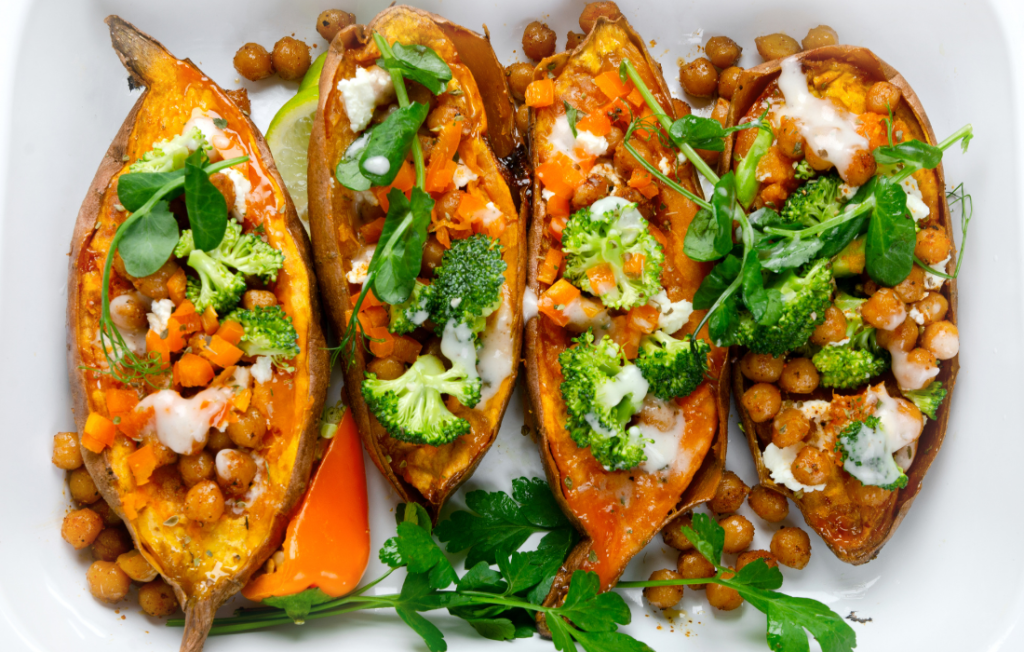
Should I soak kumara before roasting?
oaking kumara before roasting is not necessary, but it can have some benefits. Soaking kumara in cold water for about 30 minutes to an hour helps to remove some of the excess starch on the surface. This can result in a crispier texture when the kumara is roasted.
However, if you’re short on time or don’t want to go through the extra step, you can still achieve deliciously roasted kumara without soaking them. Just make sure to wash and peel them properly, cut them into evenly sized pieces, and coat them with a thin layer of oil and seasonings before roasting.
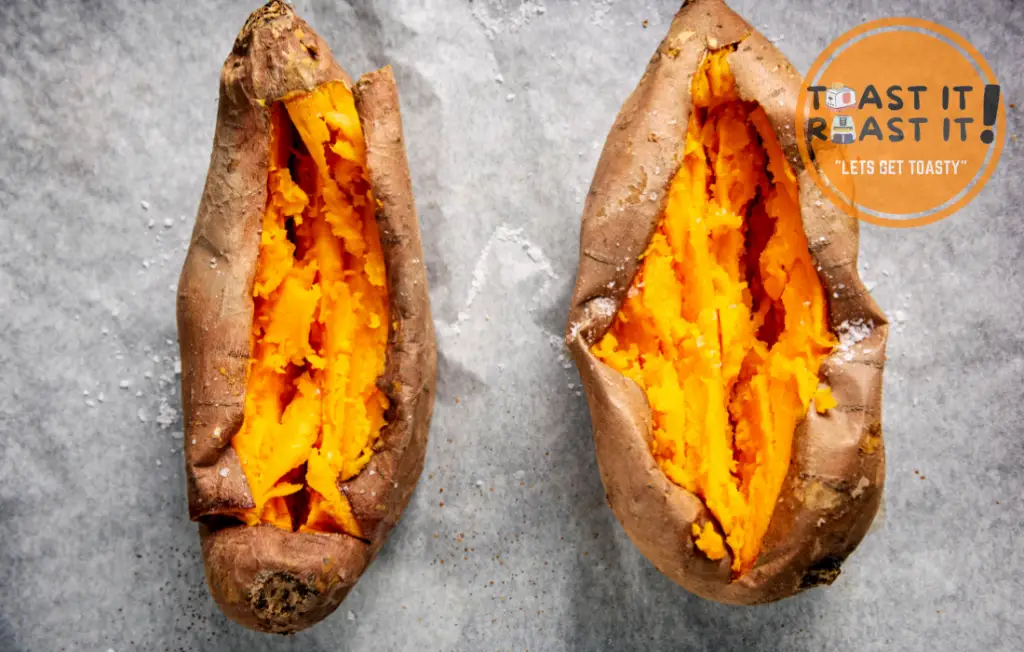
Do you need to pierce sweet potatoes before roasting?
Absolutely! It’s important to pierce sweet potatoes (including kumara) with a fork or knife before roasting. This allows steam to escape while they cook, preventing the possibility of them bursting in the oven. Piercing also helps the sweet potatoes cook more evenly and can improve the overall texture of the final dish.
Conclusion
In this article, we’ve explored the delightful world of roasting kumara using two versatile and efficient kitchen appliances: the air fryer and toaster oven. Both methods have their advantages, with the air fryer delivering a crispy exterior and the toaster oven offering a convenient and energy-efficient alternative to traditional ovens.
We’ve also discussed various seasoning ideas to elevate your roasted kumara, including a Caribbean-inspired option for a tropical twist. With the nutritional benefits and versatile cooking methods, there’s no reason not to add kumara to your meal planning.
So, why not give these methods a try and experiment with different seasonings? You might just discover a new favorite way to enjoy this delicious and nutritious root vegetable. Happy roasting!
Reference:
- All Recipes – Roasted Kumara: https://www.allrecipes.com/recipe/18249/roasted-kumara/
- Taste – Roasted Kumara Salad: https://www.taste.com.au/recipes/roasted-kumara-salad/7e6e20bb-2eac-43f3-8f19-d20e1802c7e3

